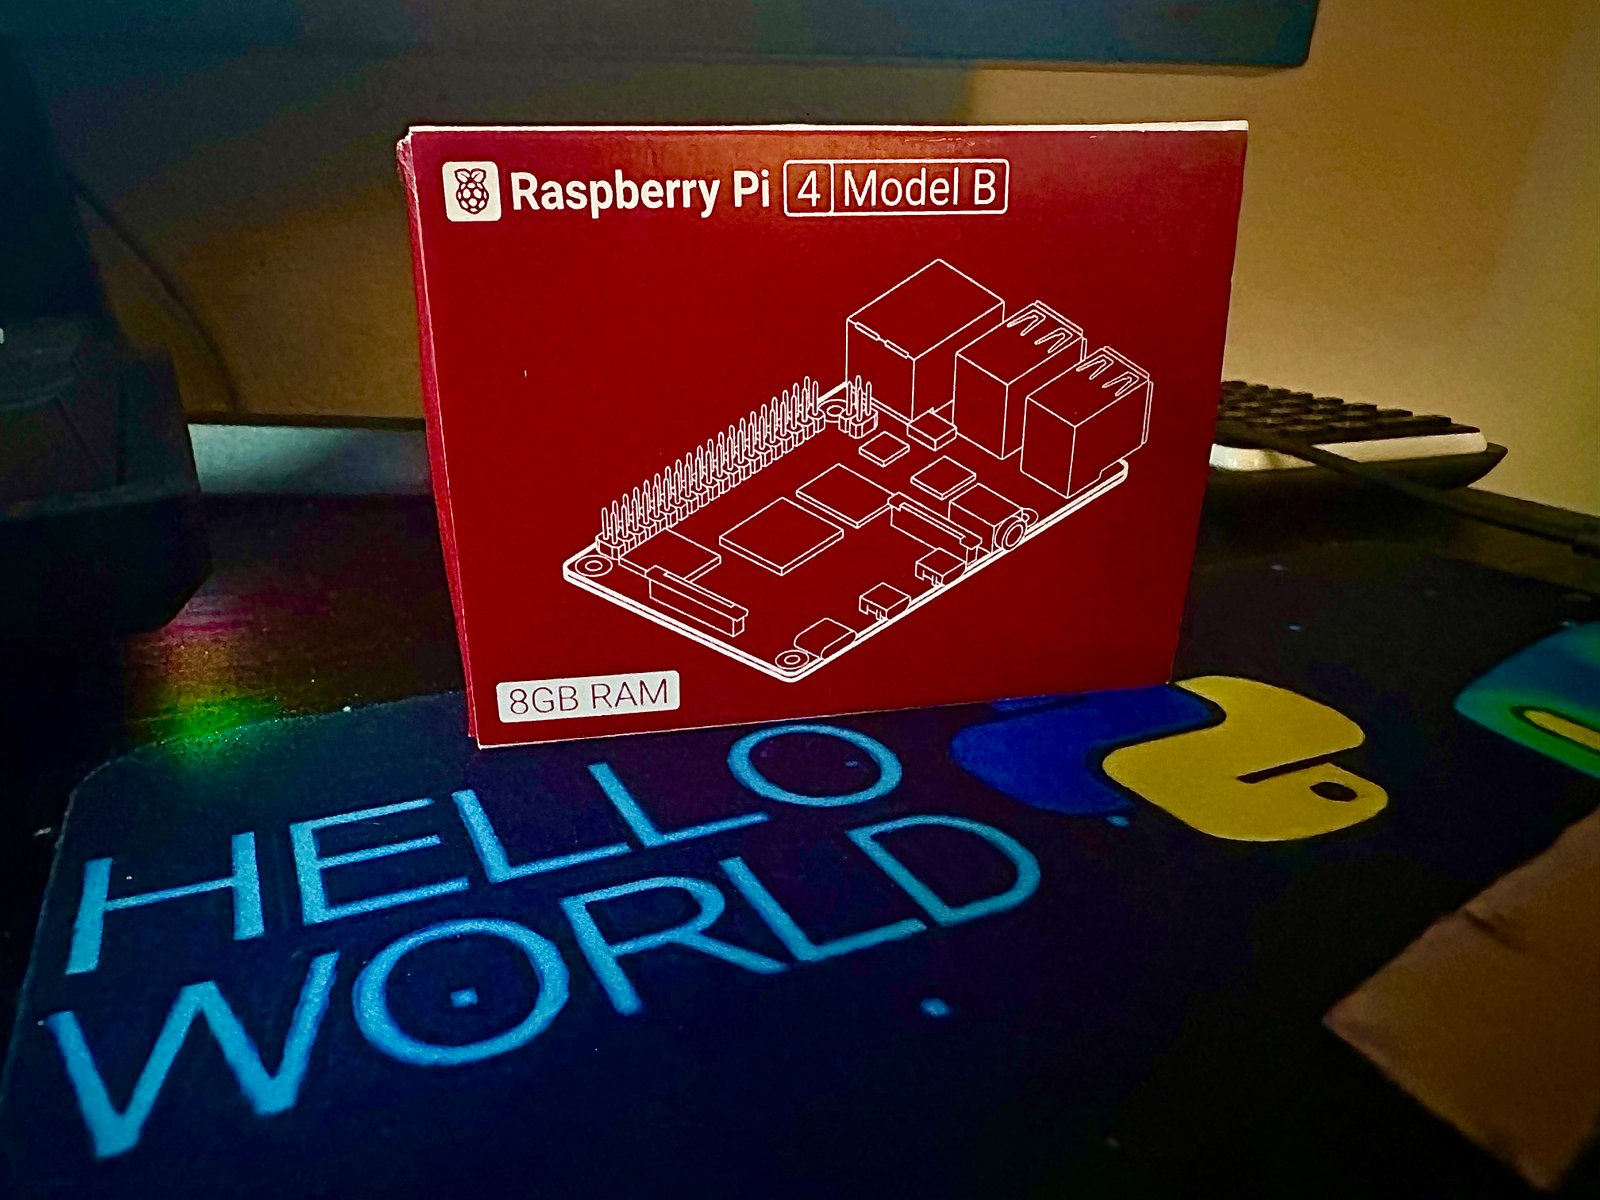
In this project, I'll walk you through the process of setting up a LAMP stack on a Raspberry Pi 4. LAMP stands for Linux, Apache, MariaDB (a drop-in replacement for MySQL), and PHP. This combination of software allows you to host dynamic websites and applications on your Raspberry Pi. Here's how to get started.
Hardware Required
- Raspberry Pi 4 (4GB or 8GB RAM recommended)
- MicroSD card (16GB or larger) with Raspberry Pi OS installed
- Power supply for Raspberry Pi
- Ethernet cable or Wi-Fi connection
- Case and cooling solution (optional but recommended)
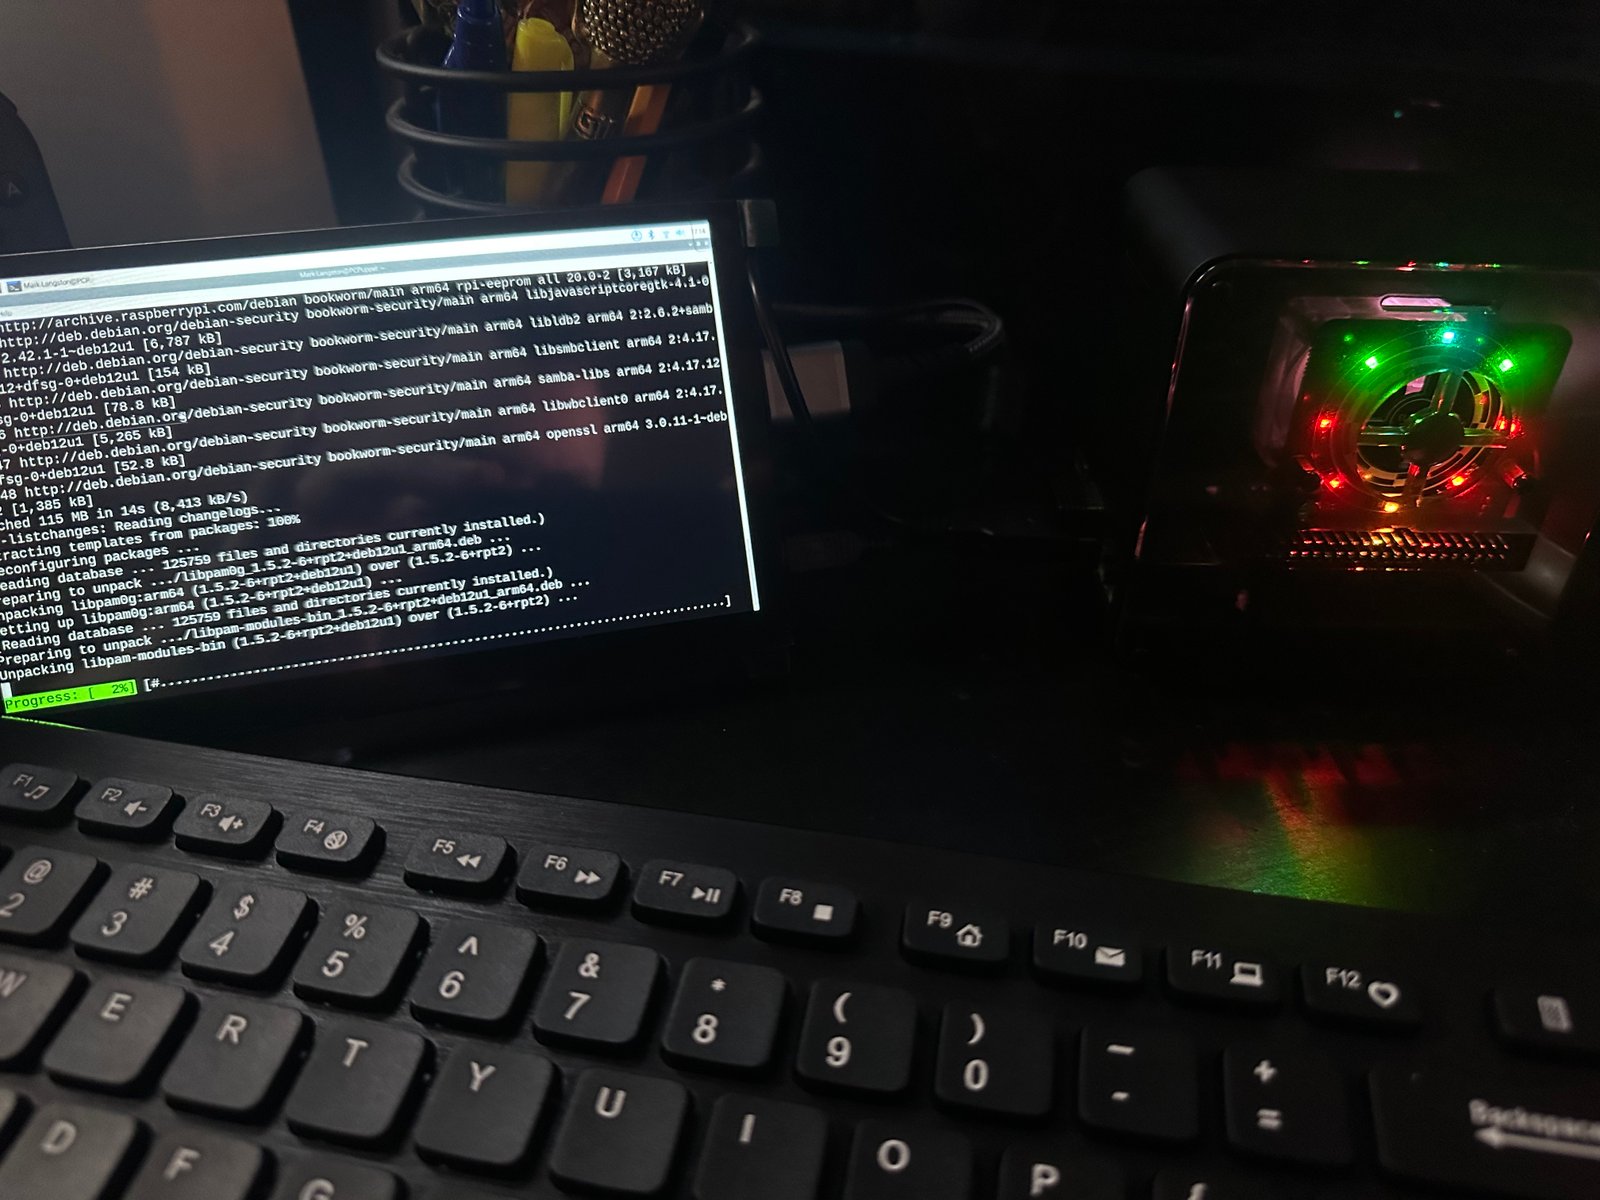
Step 1: Update Your System
Before installing the LAMP stack, make sure your Raspberry Pi OS is up to date. Open a terminal and run the following commands:
sudo apt-get update
sudo apt-get upgrade
This will ensure that all packages are up to date and that your system is ready for the LAMP installation.
Step 2: Install Apache
Apache is the web server that will handle HTTP requests and serve web pages. To install Apache, run:
sudo apt-get install apache2 -yAfter the installation, you can check if Apache is running by entering your Raspberry Pi's IP address in a web browser. You should see the default Apache welcome page.
Step 3: Install MariaDB
MariaDB is the database server that will store your data. To install MariaDB, use the following command:
sudo apt-get install mariadb-server -yAfter installation, secure your MariaDB installation by running:
sudo mysql_secure_installationFollow the prompts to set up your root password and secure the database server.
Step 4: Install PHP
PHP is the scripting language that will run on the server to generate dynamic content. To install PHP, run:
sudo apt-get install php libapache2-mod-php -yRestart Apache to enable PHP:
sudo systemctl restart apache2You can test your PHP installation by creating a simple PHP file:
echo "<?php phpinfo(); ?>" | sudo tee /var/www/html/info.php
Visit http://your_pi_ip/info.php in your browser to see the PHP info
page.
Final Setup and Configuration
At this point, you have a fully functional LAMP stack running on your Raspberry Pi. You can now start developing and deploying your own web applications.